Part 1: Building Your Menu Manually
The Menu Builder is the right choice when you’re starting fresh, your menu is short, or you want full control over every word. Here’s the process from a blank dashboard to a scannable QR code.
Step 1: Plan your categories first
Before you touch the dashboard, sketch your structure on paper. Categories are how customers navigate, so keep them in the order people actually eat: starters, mains, sides, desserts, drinks. Aim for 5–8 categories. More than that and customers scroll past things they’d have ordered.
Step 2: Create categories in the Menu Builder
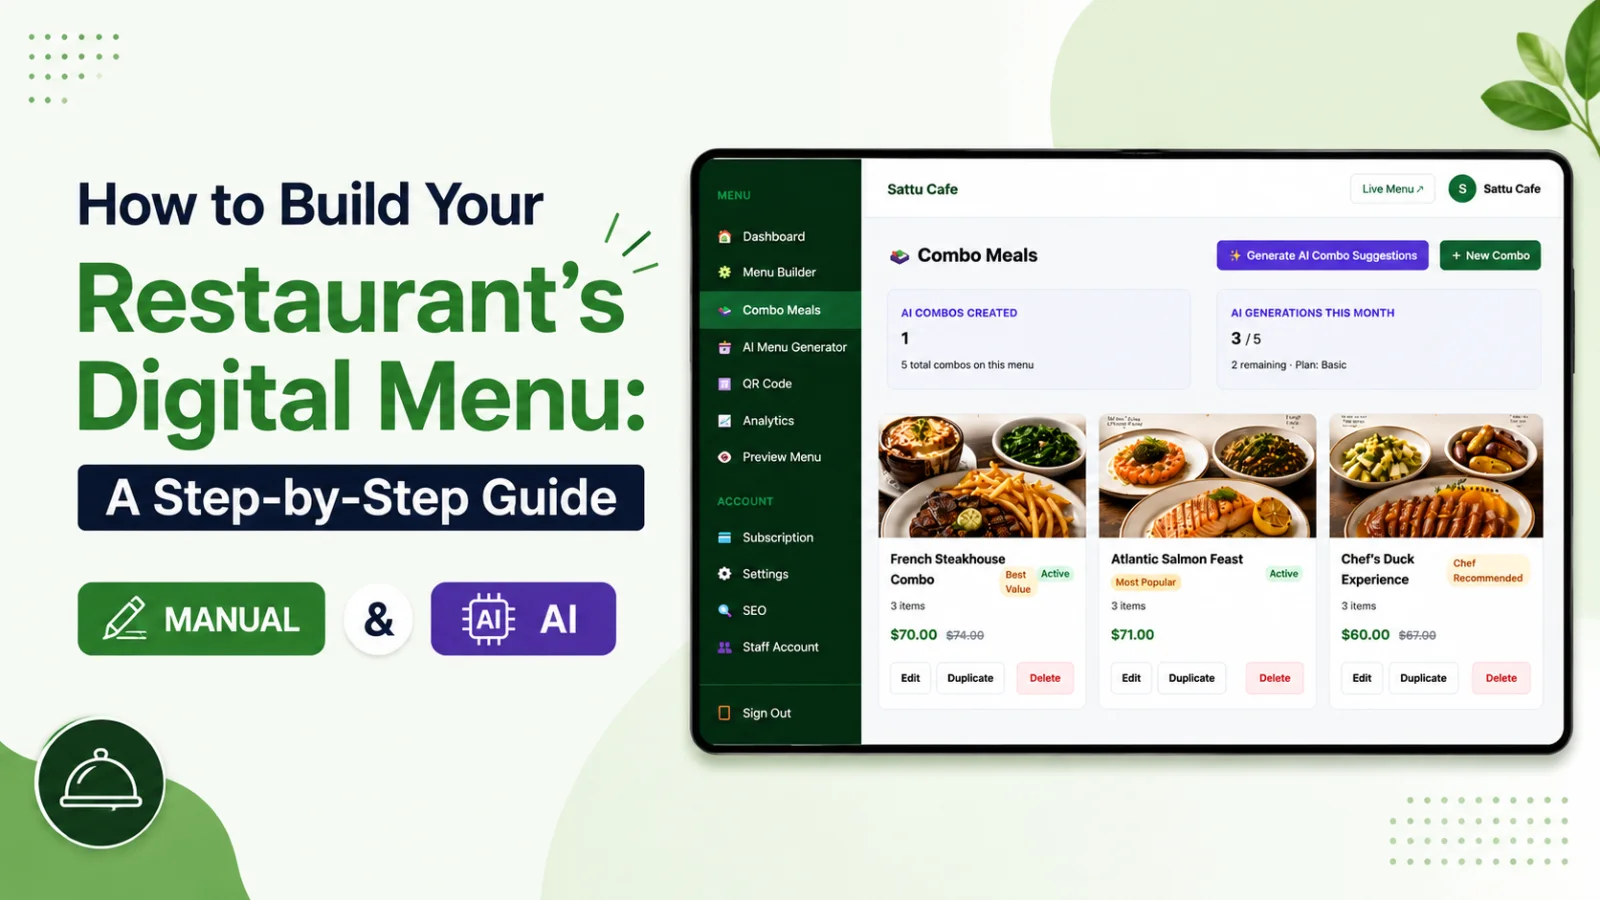
1. Log in to your Qr Food Menu dashboard and open Menu Builder.
2. Add each category with a clear, plain name. “Starters” beats “Prelude to the Feast” — customers scan menus, they don’t read them.
3. Drag categories into your preferred order. The order on screen is the order customers see.
Step 3: Add your items
For each dish, you’ll fill in a name, a description, a price, and ideally a photo. Two of these matter more than people think:
• Descriptions sell. One or two sentences naming the key ingredients and how the dish is prepared. “Slow-roasted lamb shank with rosemary jus and creamy mash” outsells “Lamb shank” every time. If writing isn’t your thing, use the built-in AI description enhancer — type a rough note and let it polish the wording.
• Photos move the needle most on your top sellers. You don’t need a photo for every item. Shoot your ten best dishes in daylight, near a window, on a plain plate. A mediocre photo hurts more than no photo.
Step 4: Review on a real phone
Open your menu link on your own phone before you publish. Check that prices are right, nothing is misspelled, and photos aren’t stretched. Hand it to a member of staff and ask them to find a specific dish — if it takes more than ten seconds, your categories need work.
Step 5: Generate your QR code and put it everywhere
From the QR Code section of your dashboard, download your code and place it on tables, at the counter, on the door, and on receipts. Print it at least 3 × 3 cm so older phones can scan it from a seated position.
Part 2: The AI Shortcut — Import Your Existing Menu in Minutes
If you already have a menu — printed, PDF, even a photo of your chalkboard — you don’t need to retype it. The AI Menu Generator reads it and rebuilds it as a structured digital menu.
How it works
1. Open AI Menu Generator in your dashboard and upload a PDF or a clear photo of your menu. Scanned and image-based PDFs work too — the system falls back to image recognition automatically.
2. The AI extracts your categories, item names, descriptions, and prices, and matches them against any categories you already have so you don’t end up with duplicates.
3. Review everything on the preview screen. This is the important part: check prices digit by digit, fix any dish names the AI misread, and remove anything you no longer serve.
4. Hit Import. Your menu is live and editable in the Menu Builder like any hand-built menu.
Tips for a clean AI import
• Upload the sharpest source you have. A flat, well-lit photo beats a crumpled menu shot at an angle.
• Import one menu at a time — lunch first, then dinner — rather than a single cluttered file.
• Never skip the preview. The AI is accurate, but a wrong price on a live menu costs you money or an awkward conversation.
Manual or AI: Which Should You Use?
Use AI when you have an existing menu to digitise — it turns an afternoon of typing into a few minutes of reviewing. Use the Menu Builder for everything ongoing: price changes, daily specials, seasonal swaps, and new dishes. The fastest workflow is AI for the first import, then manual upkeep.
Either way, the goal is the same: a menu customers can read on their phone in seconds, that you can change without calling a printer. Set aside one hour, pick your route, and get it live.